
What Makes damson jam recipe So Special
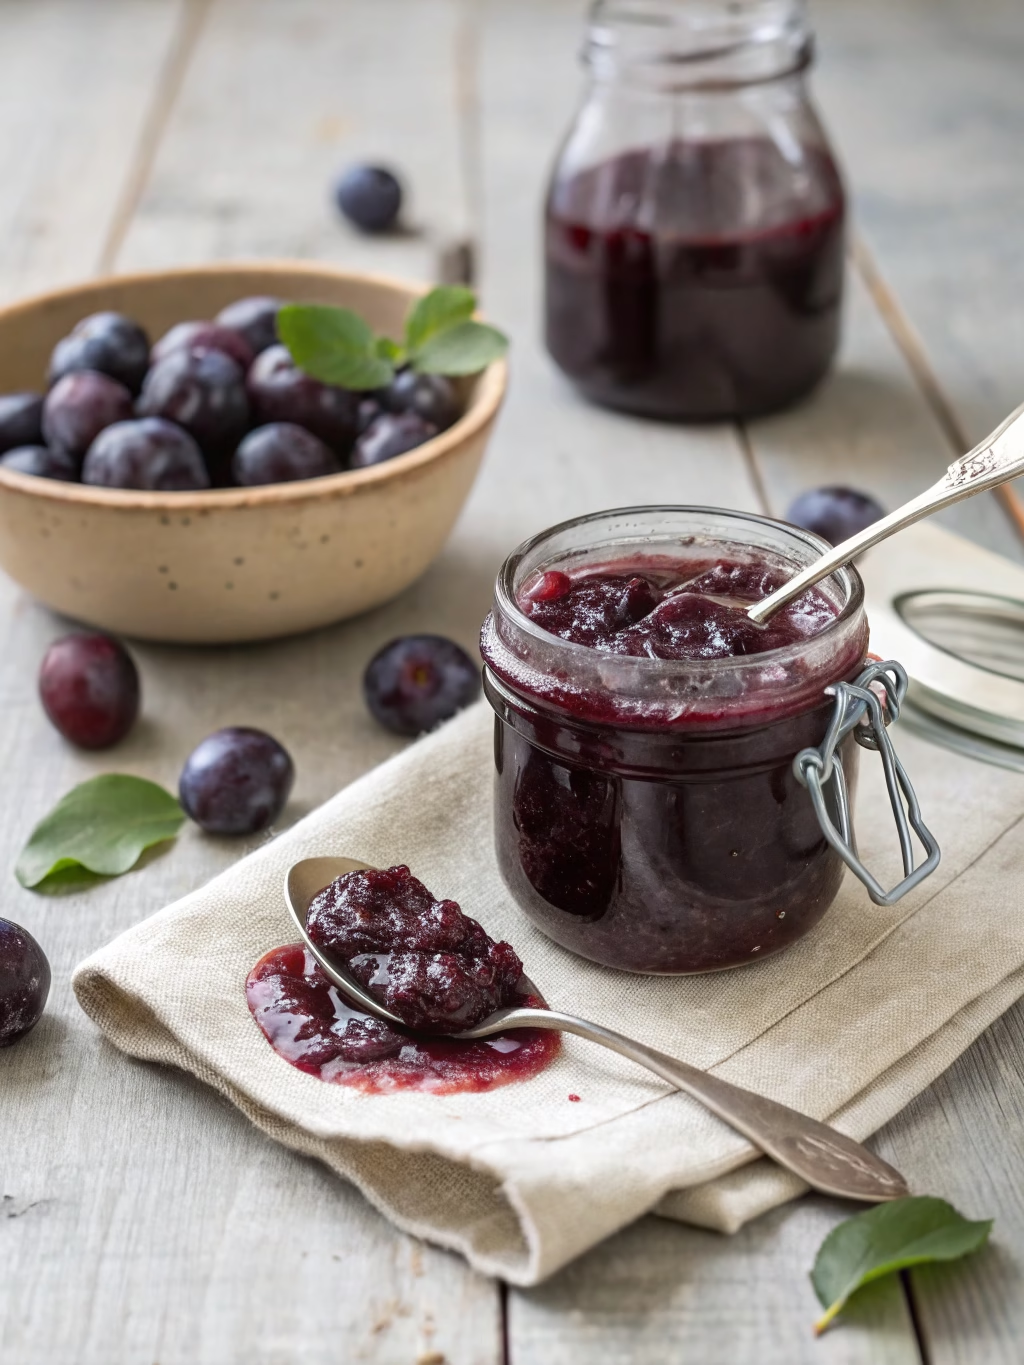
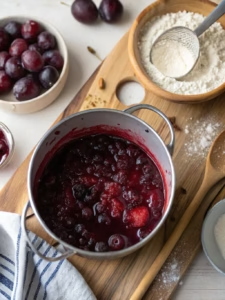
With just a handful of simple ingredients, this damson jam recipe delivers a sweet, tangy burst of flavor that’s perfect for slathering on toast, swirling into yogurt, or gifting in pretty jars. The deep purple hue and rich, velvety texture of homemade damson jam make it a standout—like a little jar of summer preserved for cozy mornings. And trust me, once you taste it, store-bought just won’t compare!
I’ll never forget the first time I made this jam I nearly burned the batch because I got distracted chatting with my neighbor over the fence! Now, I always set a timer and keep a close eye on that rolling boil. But don’t let that scare you; this easy damson jam is simpler than it looks, and the reward is so worth it. You’re going to want to double the batch!
This post may contain affiliate links. Please read my disclosure policy.
Why This Damson Jam Recipe Shines
This damson jam recipe captures the essence of summer in a jar nothing beats the bright flavor of ripe damsons gently cooked to jammy perfection. This homemade damson jam recipe lets the fruit shine, balancing sweetness with a gentle tang that elevates everything from toast to cheese boards. Whether you’re a longtime canner or trying a new damson jam recipe this season, the comfort and flavor is unmistakable.
Ingredients for damson jam recipe
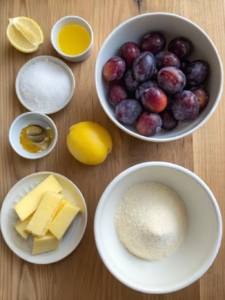
- 2 pounds fresh damsons, washed and pitted
- 4 cups granulated sugar
- 1/4 cup freshly squeezed lemon juice
- 1/2 teaspoon unsalted butter

Cook Time for Homemade Damson Jam
This sweet damson jam is a labor of love, but most of the time is hands-off! Prep takes about 15 minutes (plus an hour for the fruit to macerate), and cooking takes 20–25 minutes. I love recipes like this where you can stir a pot while sipping tea and daydreaming about all the ways you’ll enjoy it later. If you’re looking for another fruity project, try my cherry lemon bars—they’re just as delightful!
How to Make Easy Damson Jam
Step 1: Macerate the Fruit
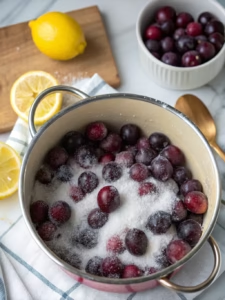
In a large, heavy-bottomed pot, combine the damsons, sugar, and lemon juice. Let the mixture sit for 1 hour to draw out the juices.
Step 2: Dissolve the Sugar
Place the pot over medium heat, stirring gently until the sugar dissolves completely.

Step 3: Bring to a Boil
Increase the heat to medium-high and bring the mixture to a rolling boil. Stir occasionally to prevent sticking.
Step 4: Reduce Foaming
Add the butter to reduce foaming, then continue boiling for 15–20 minutes, or until the jam reaches 220°F on a candy thermometer.

Step 5: Test Consistency
Test the jam’s consistency by spooning a small amount onto a chilled plate—if it wrinkles when pushed, it’s ready.
Step 6: Jar the Jam
Remove from heat and skim off any foam. Let cool slightly before ladling into sterilized jars.
Step 7: Seal and Store
Seal the jars and process in a water bath for 10 minutes, or store in the refrigerator for immediate use.

Pro Tips & Tasty Tweaks
Over the years, I’ve picked up a few tricks to make this damson preserves even more foolproof. Here’s what I’ve learned:
- Flavor Swap: Add a cinnamon stick or a split vanilla bean to the pot for a warm, spiced twist—just remove it before jarring!
- Diet Tweak: For a lower-sugar version, reduce the sugar by half and add 1/4 teaspoon of calcium powder (like Pomona’s Pectin) to ensure it sets.
- Texture Fix: If your jam is too runny, simmer it 5 minutes longer. Too thick? Stir in a splash of hot water.
- Storage Tip: Unopened jars last a year in a cool, dark place. Once opened, refrigerate and use within 3 weeks—though I doubt it’ll last that long! For more preserving ideas, check out my no-bake dessert collection.
Homemade Damson Jam
Ingredients
- 2 pounds fresh damsons washed and pitted
- 4 cups granulated sugar
- 0.25 cup freshly squeezed lemon juice
- 0.5 tsp unsalted butter
Method
- In a large, heavy-bottomed pot, combine the damsons, sugar, and lemon juice. Let the mixture sit for 1 hour to draw out the juices.

- Place the pot over medium heat, stirring gently until the sugar dissolves completely.
- Increase the heat to medium-high and bring the mixture to a rolling boil. Stir occasionally to prevent sticking.
- Add the butter to reduce foaming, then continue boiling for 15–20 minutes, or until the jam reaches 220°F on a candy thermometer.
- Test the jam's consistency by spooning a small amount onto a chilled plate—if it wrinkles when pushed, it's ready.
- Remove from heat and skim off any foam. Let cool slightly before ladling into sterilized jars.
- Seal the jars and process in a water bath for 10 minutes, or store in the refrigerator for immediate use.
Nutrition
Notes
Private Notes
Tried this recipe?
Let us know how it was!Using This Damson Jam Recipe Mindfully
If you’re mindful about sugar but still want joy in a jar, this damson jam recipe is your ally. Make a half batch to cut down on sugar, or use this damson jam recipe as a swirl in your morning oatmeal for just the right touch. Even a spoonful adds rich color, bold flavor, and a reminder that this damson jam recipe is as versatile as it is delicious.
Nutrition and Health Benefits
While this homemade damson jam is certainly a treat, damsons pack a surprising nutritional punch! They’re rich in antioxidants, vitamin C, and fiber—especially if you leave the skins on. Of course, the sugar content means moderation is key, but a spoonful brightens up oatmeal or whole-grain toast beautifully. For more ways to enjoy fruit mindfully, explore these healthy baking recipes or this insightful guide on fruit-based desserts.
A Lighter Version of Sweet Damson Jam
If you’re watching your sugar intake, fear not—this jam can still be yours! Swap granulated sugar for monk fruit sweetener (1:1 ratio) or use honey for a more natural touch. The texture might vary slightly, but the flavor will still shine. For other diabetic-friendly ideas, my Valentine’s dessert roundup has plenty of inspiration. And if you love fruit-forward treats, don’t miss this gorgeous berry pavlova recipe—it’s a showstopper!
Thoughtful Tips for Special Diets
When my dear friend Margie was diagnosed as pre-diabetic, I worried she’d never enjoy my homemade damson jam again but with a few tweaks, we found ways to make it work! Whether you’re sugar-conscious or just prefer lighter sweets, this versatile damson preserves recipe adapts beautifully. Here’s what I’ve learned through years of sharing jars with friends on various diets:
- Natural Sweetener Swap: Replace half the sugar with monk fruit blend or stevia for a low glycemic version that still sets well (add an extra tablespoon of lemon juice to balance the flavor).
- Portion Control Magic: Spoon smaller amounts over Greek yogurt or chia pudding instead of toast—the protein helps balance blood sugar while letting the fruity flavor shine.
- Pectin Power: For a truly sugar-free damson jam, use Pomona’s Universal Pectin with calcium water—it gels beautifully with just 1 cup of honey or maple syrup instead of refined sugar. My naturally sweetened dessert collection has more inspiration!
How to Serve damson jam recipe
One rainy afternoon, my granddaughter Lily and I spread this sweet damson jam on warm buttermilk biscuits—the way the purple swirls melted into golden layers had us giggling like schoolgirls! Beyond toast, here’s how we love enjoying it:
- Swirled into oatmeal with toasted almonds
- As a glaze for roasted chicken (trust me, it’s divine!)
- Layered in parfaits with my lemon sherbet and crushed meringues
- Paired with sharp cheddar on crackers for a sweet-savory bite

For special occasions, I’ll dollop it over this stunning mini pavlova—the tartness cuts through the sweetness perfectly.
Mistakes to Avoid
After burning my first batch (and nearly ruining Grandma’s copper pot!), I became obsessed with perfecting this easy damson jam. Here’s how to sidestep common pitfalls:
- Undercooking: If your jam won’t set, you likely pulled it off the heat too soon. Wait for that 220°F reading—it makes all the difference!
- Overcrowding the Pot: Damsons release lots of juice. Use a wide, heavy-bottomed pot to allow proper evaporation and prevent a watery mess.
- Skipping the Butter: That 1/2 teaspoon isn’t just for flavor—it reduces foaming so you don’t lose precious jam to bubbly overflow.
- Unsterilized Jars: Nothing’s sadder than spoiled jam! Always boil jars and lids for 10 minutes, or run them through a dishwasher sanitize cycle. My no-cook dessert guide has more food safety tips.
Remember, even “failed” jam makes a marvelous syrup for pancakes—ask me how I know!
How to Store damson jam recipe
When I was little, Mom stored her damson preserves in the cellar shelves—rows of jewel-toned jars glowing like stained glass. Today, my methods are simpler but just as effective:
- Room Temperature: Properly sealed, unopened jars last 1 year in a cool, dark pantry. Check lids—they should be slightly concave.
- Refrigerator: Once opened, use within 3 weeks. The cold thickens the texture beautifully!
- Freezer: For longer storage, leave 1/2-inch headspace and freeze for up to 6 months. Thaw overnight in the fridge.
Pro tip: Label jars with the date using washi tape—it peels off cleanly when you’re ready to reuse them. For more preserving ideas, explore my holiday storage tricks or this handy fruit preservation guide.
Try This damson jam recipe Yourself
There’s something magical about transforming humble fruit into jars of sunshine—especially when you share them. Last fall, I gifted a batch to our new neighbors with a loaf of homemade bread, and now they bring me damsons from their tree every season! Whether you’re a canning pro or a first-timer, this homemade damson jam is your ticket to:
- Weekend projects that fill the house with fruity perfume
- Thoughtful gifts that mean more than store-bought
- Breakfasts that feel like a hug in a spoon
Need more fruity inspiration? Try my cherry lemon bars, lemon cherry ice cream, or healthier baking recipes next!
Why I Come Back to This Damson Jam Recipe Year After Year
Every autumn, I look forward to making this classic damson jam recipe. The flavor is timeless, and this damson jam recipe reminds me of cozy mornings and homemade warmth. Once you’ve tasted this damson jam recipe you’ll understand why it’s a staple in my pantry—ready to add a splash of comfort whenever you need it.
Frequently Asked Questions
Can I use frozen damsons for jam?
Absolutely! Thaw them first and drain excess liquid—you’ll need about 1/4 less cooking time since freezing breaks down the cell walls. I keep bags in my freezer for off-season jam emergencies!
How do I know if my jam has set properly?
The wrinkle test never fails: Chill a plate, drop a spoonful of jam, and push it with your finger. If it wrinkles, it’s ready! No thermometer? The jam should sheet off the spoon in thick drops rather than running.
Why did my jam turn out too dark?
Overcooking can darken the color—stick to the recommended time and temp. Using aluminum pots may also cause discoloration; enamel or stainless steel works best. The flavor’s still great though!
Can I reduce the sugar in this recipe?
Yes, but you’ll need special pectin for low-sugar jams. I recommend Pomona’s—it uses calcium water to activate gelling. Check my healthy baking guide for more sugar-swap ideas!


